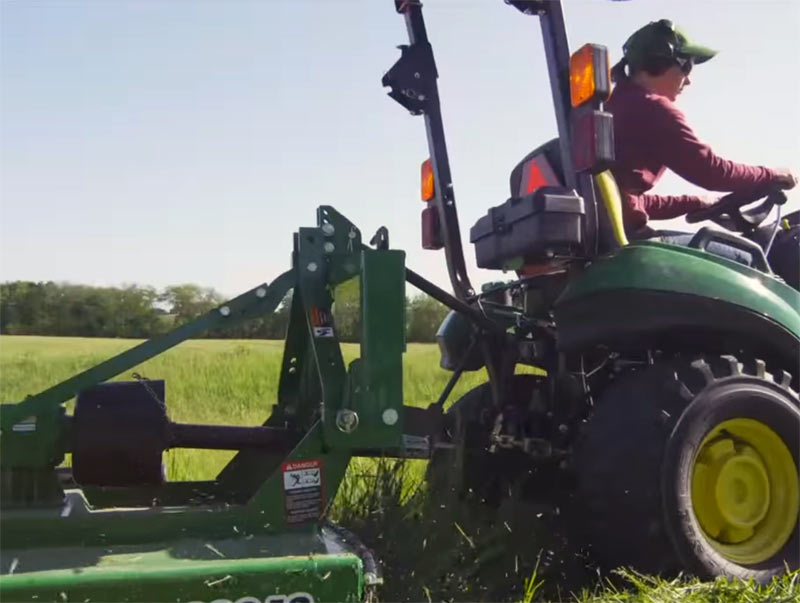
Regardless of what kind of land you have to maintain, a lot of the time there is ground that is covered in bushes, weeds, or tall grass. A tractor mounted rotary cutter is the implement necessary for keeping overgrowth under control. A rotary cutter, also called a bush hog or brush hog, is made to cut through rough plant material, everything from thick grass, rugged weeds, to small tree saplings.
When using a rotary cutter, always make certain that the blades are sharpened and balanced. Blades can be removed to be sharpened, however, that is a task best left for your local dealer. Once blades become chipped and deteriorated, they should be replaced.
Always be conscious of the land that you will be cutting. Mowing over a large rock, tree stump, or other obstruction could result in damage to the rotary cutter, tractor, or injury to yourself. The best and most efficient place to hook up a rotary cutter to a tractor is on a very flat surface, such as concrete or asphalt. This will make attaching and leveling the implement much easier as opposed to trying to connect the two pieces of equipment on rough or uneven terrain.
When hooking up and leveling your rotary cutter, most people think that from front to back, a rotary deck should be level which is not the case. The front should be set slightly lower, about half an inch to an inch, depending on the thickness and height of the overgrowth. This allows the blades to work as designed, cutting in front without dragging the rear blades through the grass.
To hook up the rotary cutter, take these steps from John Deere featuring a 1025R 25 hp compact utility tractor…
- Back the tractor up to the attachment.
- Make sure that the three point hitch arms on the rear of the tractor match up to the position of the three point rod connectors of the rotary cutter.
- Lock the three point hitch up and down lever into the position control section of the lever bracket.
- Once that is locked into place, put the tractor into first gear and shut off the engine.
- Placing wheel chocks in both the front and the back of the rear wheels is a sensible safety precaution while attaching the implement.
- Next, slide the left three point hitch arm on the tractor onto the left hitch pin of the cutter.
- Secure the two by inserting a retaining pin into the hole located at the top of the hitch pin.
- Once the left side is fastened, do the same with connecting the right three point hitch arm to the right hitch pin of the rotary cutter.
- Then repeat one more time for the center arm and hitch pin.
- Once all three arms and hitches are securely connected, hook the end of the rotary cutter drive shaft to the power take off, or PTO, of the tractor. You can achieve this by matching up the female splines of the drive shaft to the male splines of the PTO shaft.
- Pull the lock collar back as you push the female and male splines together. Move the drive shaft onto the power take off until the collar locks onto the PTO shaft. To be certain the shafts are tightly connected, try to move the drive shaft back and forth.
- Adjust the angle of the cutting deck by using the center three point hitch turnbuckle, making sure the front is lower than the back, as mentioned earlier.
- To adjust the side to side level of the deck, use the right three point hitch turnbuckle. The skids (sides of the cutter) should be two inches off the ground.
- Lastly tighten the anti sway bars attached to the lift arms to prevent excessive side to side motion of the cutter.
Once your rotary cutter is connected, get back onto the tractor and start up the engine. Raise the cutter off the ground and safely engage the PTO shaft of the tractor. Then lower the deck and begin cutting… you’re good to go!