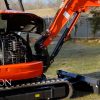
When it comes to digging post holes, the safest and easiest way to do so is to use a PTO-driven post hole digger. Like all equipment and machinery, it is important to always follow the proper rules and procedures to get the job done without any accidents, mishaps, or injuries.
Safety and Prep
The first step is to always reference the operator’s manual to understand all safety and operating instructions before using the equipment. Always remember the recommended personal protective equipment when operating a post hole auger. This includes tight-fitting clothing, protective eyewear, hearing protection, gloves, and appropriate footwear, such as steel-toe boots.
Once you feel comfortable with the information in the operator’s manual, and before you dig, you will need to call the Common Ground Alliance, or CGA, to have your underground utilities lines marked. You will need to first mark the area that you intend to dig, so the CGA knows where to target their attention when they are marking the utilities for you. You can reach the CGA by dialing 811.
After you know for absolute sure that the area is determined safe for digging, examine the area to decide and mark where the holes will go. Make sure you are careful when marking the placement of the holes to be precise on the locations.
It is also important to be knowledgeable of the area and the type of soil you will be digging and working with. Georgia’s famous red clay is hard, sticky, and tricky to work with. Your auger teeth need to be sharp! A PTO-driven auger should power right through it, but if it’s been a dry winter and the clay is too hard to dig, water will help soften it.
Dig in!
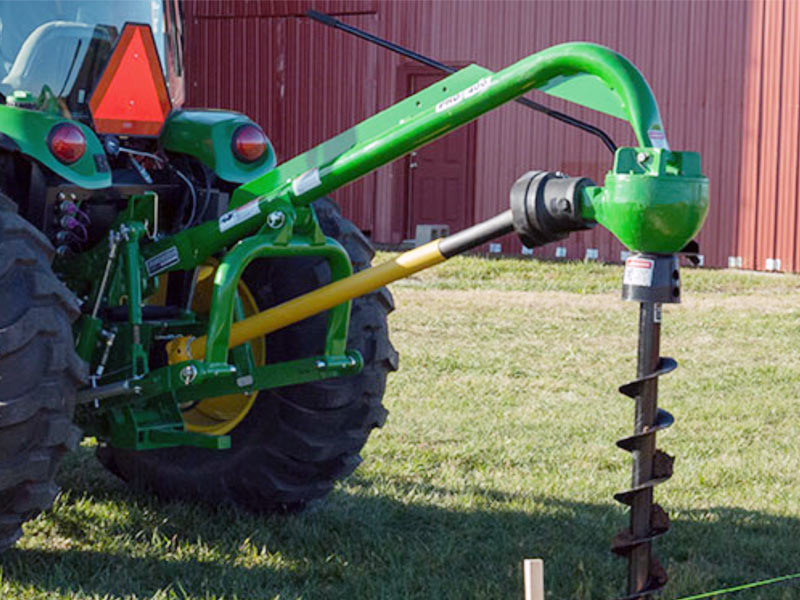
When your placement for holes are correctly marked and you are ready to begin digging post holes, maneuver your tractor, with the post hole digger and auger attached, over the first hole location. To work properly, the auger needs to be in vertical position. Raise the auger point off of the ground using your three point hitch, and turn the leveling crank on the lift link located on the tractor until the auger reaches a vertical position.
Gradually lower the auger until its point makes contact with the ground. There are some post hole diggers that feature a handle attachment for positioning that will allow you to maneuver the tip of the auger from the seat of the tractor. Cautiously move the tractor forward or backward as necessary until the auger is vertical to the ground.
Once the auger point has been lowered to the ground, set the engine speed to idle and engage the PTO. Raise the PTO speed as needed to make the auger pierce the ground. The maximum speed is 540 rpm.
As the auger penetrates into the ground, and dirt starts to come up out of the hole, continue to drill downwards while lowering the three point hitch. Slowly dig down several inches at a time, then lift the auger to release excess soil. Repeat as many times as needed to reach the depth you want. Pay attention to the position of the auger, you may need to move the tractor forward to make sure your hole continues to dig straight up and down. If you hit a root, you may need to reverse the direction of the auger to break free.
After the hole has been dug to the desired depth, raise and lower the auger while it is still in the hole to remove any loose dirt that may still be inside. When that’s done, extract the auger from the hole, disengage the PTO, and continue on to the next marked hole location.
Just tooling around
Anytime you transport a post hole digger, before the job and after the holes are dug and the job is complete, make certain the auger is fully raised and watch for any obstructions or obstacles that could potentially collide with the auger. This will help avoid any damage to your equipment. It wouldn’t do to run your auger into a tree while moving it from hole location to hole location!
When the job is done clean your equipment thoroughly and inspect for damage. Sharpen, turn, and replace a damaged blades before the next time you need to use the auger.